-
Your shopping cart is empty!

MENU
Your shopping cart is empty!
 New
-62%
 -63%
 -59%
 -63%
 -61%
 -61%
 -60%
 -62%
 -62%
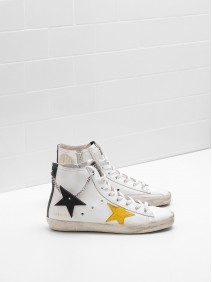 -60%
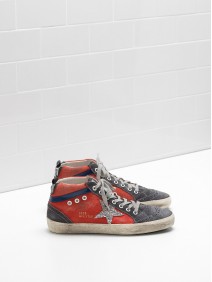 -63%
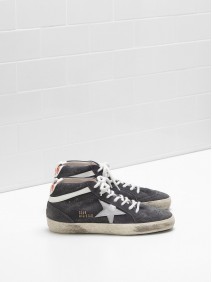 -59%
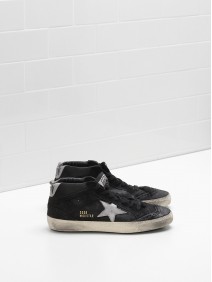 -59%
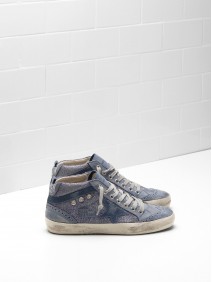 -64%
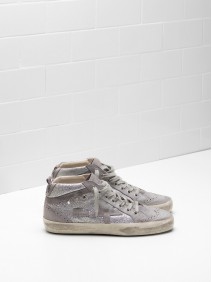 -59%
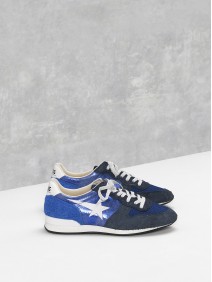 -64%
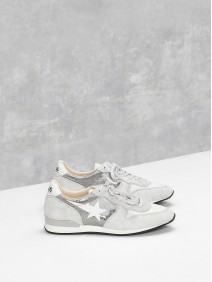 -64%
 -61%
 -64%
 -62%
 -61%
 -62%
 -64%
 -62%
 -62%
 -64%
 -62%
 -62%
 -62%
 -61%
 -61%
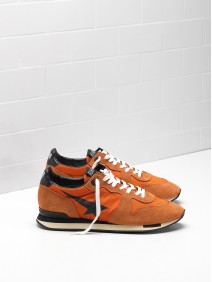 -62%
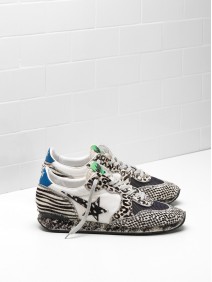 -59%
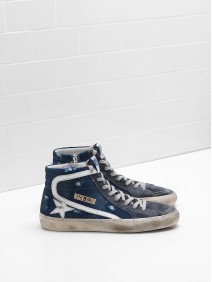 -61%
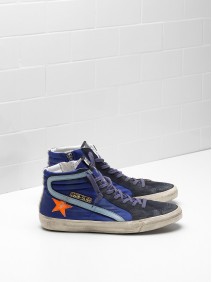 -62%
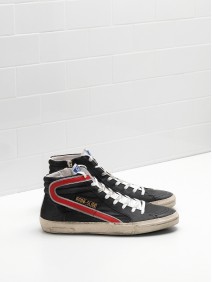 -64%
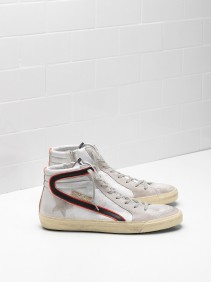 -61%
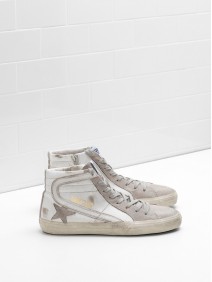 -62%
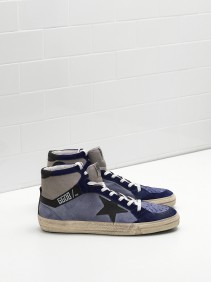 -62%
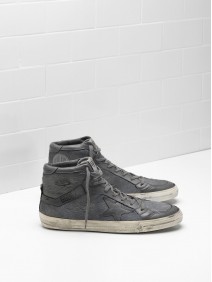 -61%
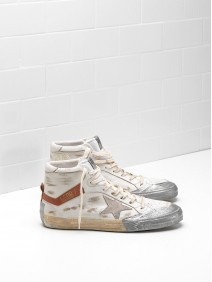 -59%
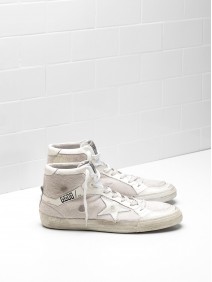 -64%
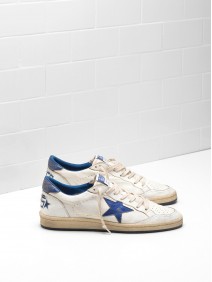 -62%
 -61%
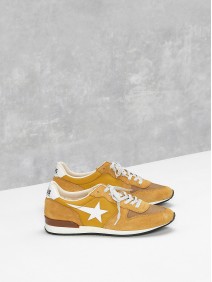
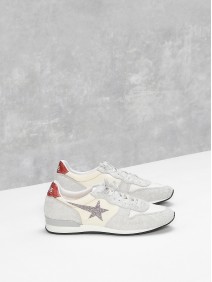
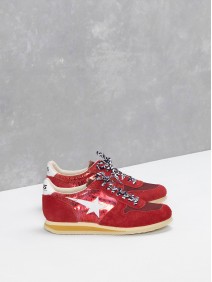
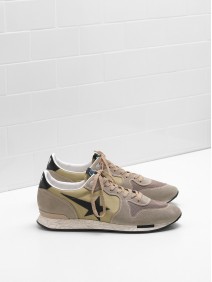
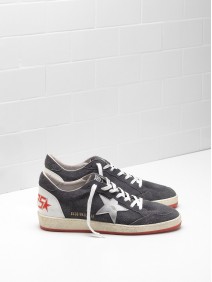
Golden Goose running sneakers combine a sporty silhouette with the distressed finishes and premium materials associated with the brand. Their technical fabrics, leather panels, suede details, and rubber soles can create a supportive everyday shoe, but the way the laces are arranged has a major effect on comfort and stability.
A good lacing method should hold the heel in place, reduce unwanted movement across the midfoot, and leave enough room for the toes to spread naturally. The ideal setup depends on your foot shape, the activity, and whether you are wearing thin everyday socks or thicker athletic socks.
Small adjustments often make a noticeable difference. Rather than tightening every section equally, treat the lower, middle, and upper eyelets as separate fit zones. This lets you secure the shoe without creating pressure over the instep or restricting circulation.
Before changing the lacing pattern, check that the sneaker is the correct size and shape for your foot. Your longest toe should have a little clearance from the front, while the widest part of your foot should sit comfortably over the shoe’s broadest point. Lacing cannot compensate for a sneaker that is too short or too narrow.
Place your heel firmly at the back of the shoe before tightening anything. Tap the heel gently against the floor, then lace from the bottom upward. The lower eyelets should be snug enough to stop the foot sliding forward, but not so tight that the forefoot feels compressed.
Use even tension on both sides when possible. Uneven pulling can tilt the tongue and create pressure points, particularly on shoes with padded collars or structured leather overlays. If the tongue moves to one side during walking, loosen the upper section and retighten it gradually.
The standard crisscross method is a reliable starting point for most wearers. Each lace crosses over the tongue and passes through the next eyelet, creating a balanced fit across the foot. It works well for commuting, shopping, light walking, and casual daily use.
Begin by threading the lace evenly through the lowest pair of eyelets. Cross the ends, then feed each end through the next eyelet from underneath. Continue this pattern until you reach the top. Pull the laces upward rather than sharply outward, which helps keep tension directed along the length of the shoe.
Avoid pulling the first few crossings too tightly. The forefoot needs some flexibility as you walk, especially if the upper includes leather or suede that will soften with wear. Make the middle crossings moderately firm and reserve the strongest tension for the area around the ankle.
A runner’s loop, sometimes called a heel-lock lacing technique, is useful when your heel lifts inside the shoe. It uses the final eyelets to form small loops on each side. After completing the usual crisscross pattern, thread each lace end straight up through the last eyelet on the same side, leaving a small loop instead of pulling it fully tight.
Cross the lace ends and pass each one through the opposite loop. Pull gently downward and backward to tighten the loops around the ankle. Finish with a secure bow positioned slightly to the side, away from the centre of the tongue if that feels more comfortable.
This method should anchor the heel without squeezing the ankle. If you feel numbness, tingling, or pressure over the top of the foot, reduce the tension at the final eyelets. A heel lock is meant to limit vertical movement, not immobilise the entire ankle.
High insteps often benefit from a window lacing technique. Instead of crossing the laces over one sensitive section, run them vertically through that pair of eyelets before resuming the crisscross pattern above it. This creates a small pressure-free zone while preserving support around the heel and forefoot.
For narrow feet, skip one pair of eyelets near the middle only if the shoe allows it, then use firmer tension at the top. This can reduce excess volume without over-tightening the forefoot. Another option is to use a runner’s loop combined with a thinner athletic sock.
Wide feet generally need more room in the lower half of the shoe. Lace the first few rows loosely and gradually increase tension toward the ankle. Do not force the sides of the sneaker together if the upper is visibly bulging; a roomier model or larger size may be more appropriate.
| Foot or fit concern | Recommended technique | Main benefit | Tension to avoid |
|---|---|---|---|
| General daily wear | Balanced crisscross | Even support across the foot | Pulling every row excessively tight |
| Heel movement | Runner’s loop | Better heel retention | Constricting the ankle |
| High instep | Window lacing | Reduces pressure on the instep | Crossing directly over a tender area |
| Wider forefoot | Loose lower lacing | Creates extra toe-box comfort | Compressing the side panels |
| Narrow foot | Firmer upper lacing | Limits internal movement | Over-tightening the forefoot |
For ordinary walking, a balanced crisscross arrangement is usually enough. It provides a stable connection between the foot and the rubber sole while allowing the sneaker to flex naturally. Keep the upper third moderately secure, especially if the collar is low or lightly padded.
For brisk walking or short, easy runs, combine crisscross lacing with a runner’s loop. This setup reduces heel slippage and helps prevent the toes from striking the front of the shoe on downhill sections. It is especially useful when the sneaker has a smooth lining or a slightly roomy heel cup.
For extended standing, prioritise circulation over maximum lockdown. Loosen the middle crossings slightly and make sure the tongue lies flat. Foot swelling is common during long days, so a fit that feels perfect in the morning may become too restrictive later.
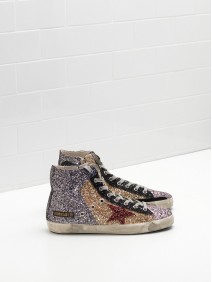
Golden Goose offers several silhouettes, and their construction can vary between leather, suede, glitter accents, and technical fabric. If you are comparing a performance-inspired pair with casual Smash styles, remember that the best lacing setup may differ according to the shoe’s eyelet spacing, collar design, and intended use.
Once the laces are tied, stand up and check the fit while placing equal weight on both feet. You should be able to flex your toes, and the tongue should remain centred without folding into a ridge. Walk across a hard floor and notice whether the heel lifts, the arch feels strained, or the forefoot slides forward.
A secure fit should feel supportive rather than tight. If the heel moves but the forefoot already feels comfortable, use a runner’s loop instead of tightening every crossing. If the toes feel restricted, loosen the lower rows while keeping the ankle section firm.
Inspect the knot as well. A double knot can be useful for active days, but make sure it does not press against the ankle or rub the tongue. Tuck the bow beneath the crossed section if you prefer a cleaner appearance, provided the lace ends cannot catch underfoot.
Leather and suede uppers may relax slightly with regular wear, while technical fabric can retain its shape more closely. Recheck the fit after the first few outings rather than assuming the original tension will remain ideal. A shoe that begins firm may need less tightening once the materials settle.
Clean laces periodically so dirt does not work into the eyelets or roughen the fibres. Replace frayed laces promptly, particularly if you rely on a heel-lock pattern. Damaged laces can loosen unpredictably and make one shoe fit differently from the other.
The most effective lacing technique is the one that matches your foot and the way you use the sneaker. Start with an even crisscross pattern, add a runner’s loop when heel security is needed, and create a pressure-free window for a high instep. Explore discounted Golden Goose styles for UK delivery, then fine-tune the laces at home so every step feels stable, comfortable, and controlled.