-
Your shopping cart is empty!

MENU
Your shopping cart is empty!
 New
-62%
 -63%
 -59%
 -63%
 -61%
 -61%
 -60%
 -62%
 -62%
 -60%
 -63%
 -59%
 -59%
 -64%
 -59%
 -64%
 -64%
 -61%
 -64%
 -62%
 -61%
 -62%
 -64%
 -62%
 -62%
 -64%
 -62%
 -62%
 -62%
 -61%
 -61%
 -62%
 -59%
 -61%
 -62%
 -64%
 -61%
 -62%
 -62%
 -61%
 -59%
 -64%
 -62%
 -61%
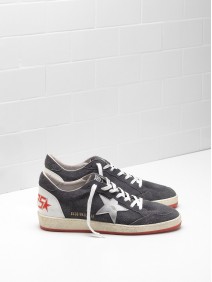
Peeling rubber around a sneaker sole can begin as a small lifted edge, then develop into a larger gap where the outsole, sidewall, or protective foxing starts separating from the upper. On Golden Goose sneakers, this often appears around the toe, heel, or high-flex areas because those sections absorb repeated bending, impact, and contact with wet ground.
The good news is that minor sole separation can often be repaired at home. The key is to clean and dry the area thoroughly, use a flexible shoe adhesive, and hold the rubber firmly while the bond cures. A rushed repair may look acceptable for a day or two but usually opens again after walking.
The method below works best for early peeling on leather, suede, glitter, or technical-fabric sneakers. If the rubber has crumbled, the midsole is badly warped, or the outsole is separating across most of the shoe, professional footwear repair is the safer option.
Inspect the whole sole before applying glue. Look for lifted rubber at the toe cap, loose sections along the sidewall, cracks in the outsole, and areas where the adhesive has turned brittle. Press gently around the opening to see whether the rubber still bends naturally or has become hard and distorted.
Moisture, heat, and poor storage can weaken the bond between the rubber and the upper. Leaving sneakers beside a radiator, drying them with a hairdryer, or wearing them through standing water can accelerate deterioration. Constant flexing also affects running styles and low-profile sneakers more quickly than shoes worn occasionally.
Check whether dirt or old adhesive is preventing the surfaces from meeting. If the peeling edge contains grit, the new adhesive will bond to the debris instead of the shoe. Do not pull the rubber farther away simply to make the repair easier; enlarging the damaged area can turn a manageable fix into a full sole replacement.
Remove loose dirt with a dry soft-bristled brush. For leather or rubber, use a lightly damp cloth with a small amount of mild soap, then wipe away residue. Suede needs a suede brush and minimal moisture, while glitter panels should be cleaned gently without scraping their surface.
Allow the sneakers to air-dry completely for at least several hours. Stuffing them with plain paper helps preserve their shape, but avoid newspaper if the ink could transfer to pale leather or fabric. The bonding surfaces must be dry, clean, and free from polish, conditioner, and oily cleaning products.
Use fine-grit sandpaper to roughen only the hidden bonding surfaces very lightly. This gives the adhesive more texture to grip. Protect visible leather, suede, and glitter with masking tape, and work in a ventilated area while wearing disposable gloves.
A flexible polyurethane or rubber-based shoe adhesive is generally the best choice for a peeling sneaker sole. These products are designed to tolerate bending, temperature changes, and light exposure. Contact cement can also work when used according to its instructions, especially for a thin, clean separation.
Avoid ordinary household super glue for large sole repairs. Cyanoacrylate dries hard and brittle, so it can crack when the sneaker flexes. It may also stain leather, leave a shiny mark, or make the surrounding rubber rigid. Hot glue is unsuitable because it softens with heat and rarely creates a durable bond.
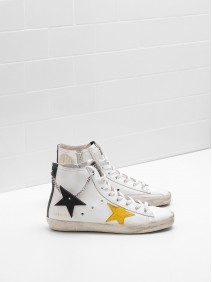
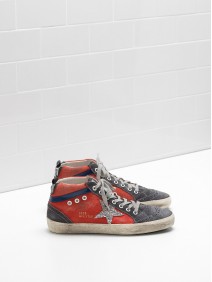
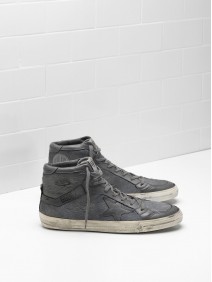
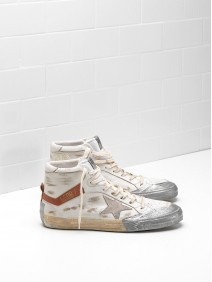
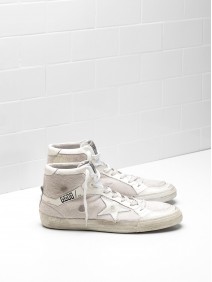
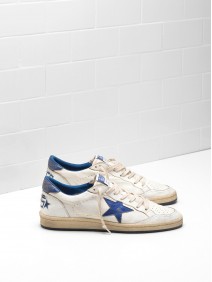
For shoppers comparing different Golden Goose styles, construction can vary by model. Smash styles may have different panel combinations and sole profiles from Francy, Mid Star, Haus Halley, Starter, Running, or Slide designs. Identify the exact material before choosing cleaning products or applying adhesive near the upper.
Open the lifted section only as far as needed. Apply a thin, even layer of shoe adhesive to both clean bonding surfaces if the product instructions recommend it. Too much glue creates a raised lump, spreads onto the visible sole, and can prevent the edges from closing neatly.
Follow the adhesive’s recommended waiting period. Some contact adhesives need to become tacky before joining, while others should be pressed together immediately. Align the rubber carefully from the most secure point outward, using a clean cloth to wipe away excess adhesive before it dries.
Hold the repair with rubber bands, painter’s tape, spring clamps, or a stack of books protected by wax paper. Use gentle, even pressure rather than crushing the sole. Leave the sneaker undisturbed for the full curing time, commonly 12 to 24 hours, and wait longer in a cool or damp room.
The appropriate approach depends on the size and position of the damage:
| Problem | Suitable response | Typical durability |
|---|---|---|
| Small lifted toe edge | Flexible shoe adhesive and firm pressure | Good for regular light wear |
| Short sidewall gap | Clean, roughen, glue, and clamp | Good when the rubber remains flexible |
| Long separation along the sole | Professional bonding or outsole service | Better than a home repair |
| Crumbling rubber | Sole replacement | Adhesive alone is unlikely to last |
| Loose insole or internal layer | Remove debris and use suitable footwear adhesive | Depends on the condition underneath |
A home repair is reasonable when the rubber is intact and the separation is limited. If the sole peels again immediately, the adhesive may have been incompatible, the surface may still contain oil, or the rubber may be degrading internally. Repeating the same application without addressing the cause usually produces a thicker, messier edge.
Professional repair is recommended when the outsole has split through its tread, the heel is unstable, or a large section has detached. A cobbler can remove deteriorated adhesive, reshape the sole, and use commercial bonding equipment. This may preserve the sneaker better than forcing a worn sole back into place.
Do not walk in a shoe with a loose heel or deeply separated outsole. The uneven surface can affect balance and allow water into the shoe. It can also cause the upper to crease in unusual places, damaging leather or fabric while the sole continues to pull away.
Once the repair has cured, clean away any remaining adhesive only with a method suitable for the sole material. Avoid aggressive solvents around painted finishes, suede, metallic details, and glitter. Test any cleaner on an inconspicuous area first, since some products can dull the rubber or stain the upper.
Rotate frequently worn pairs so each sneaker has time to dry and recover. This is especially useful for people who wear fashion sneakers in professional settings; styling ideas for sneakers at work can help keep a pair in rotation rather than relying on one model every day.
Store sneakers in a cool, dry place away from direct sunlight and heating appliances. Keep them upright with light paper stuffing, and never put damp shoes into a sealed plastic box. If they become wet, remove surface moisture with a towel and let them dry naturally.
A few minutes of regular maintenance can help preserve both the sole bond and the upper. Brush off grit after outdoor use, inspect the toe and heel every few weeks, and deal with a small lifted edge before it collects water and dirt.
Use these practical habits:
A carefully completed repair can extend the life of a favorite pair, particularly when the rubber has only started to lift. Take time with surface preparation, choose a flexible adhesive, and allow a full cure before wearing the sneakers. For severe separation or crumbling rubber, arrange a professional sole service, then keep your Golden Goose pair in regular rotation with proper cleaning and storage.